
Getting Started With
Bonsai
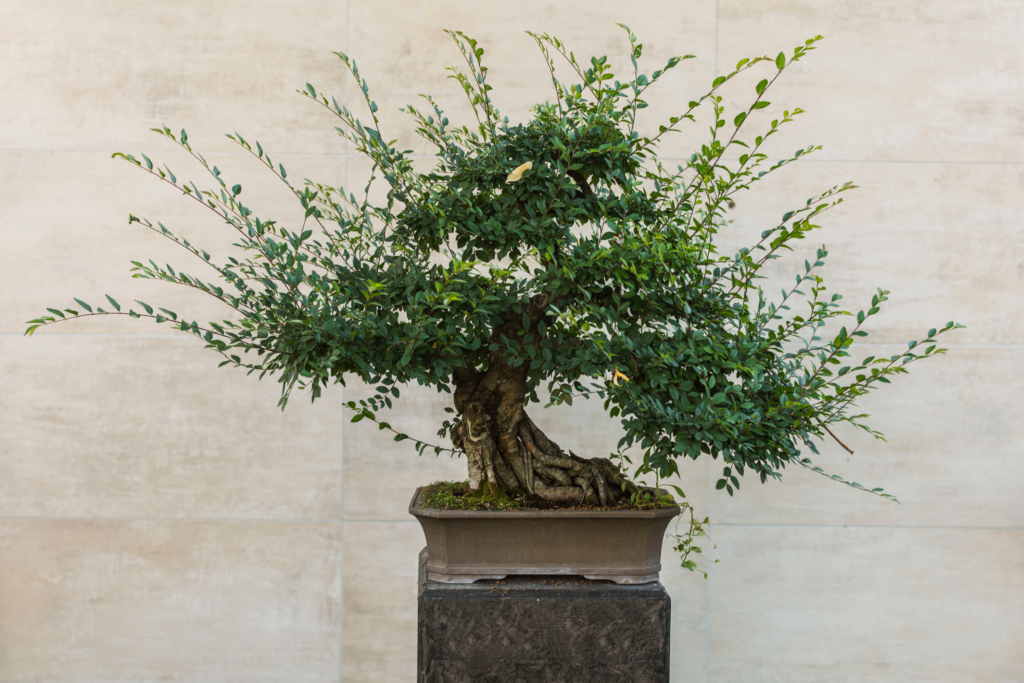
A Japanese Art Form
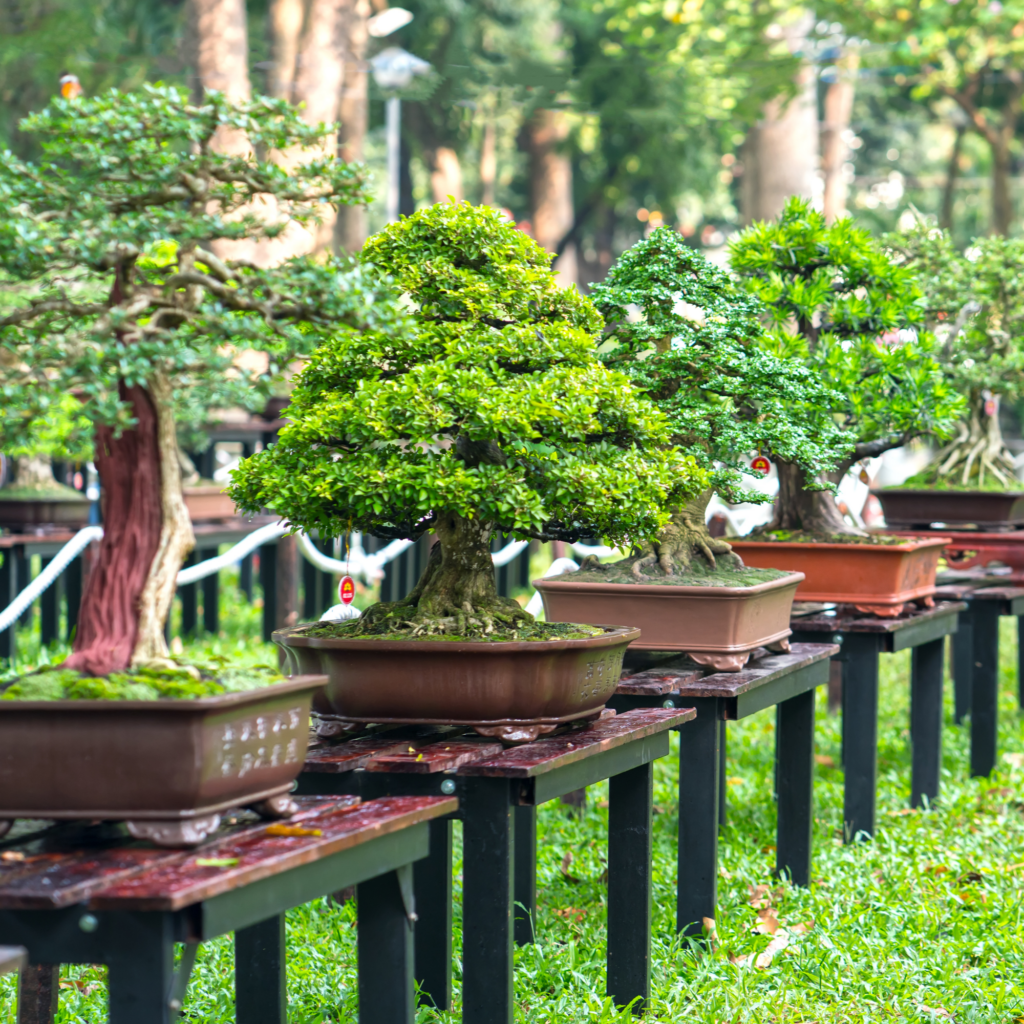
The term ‘bonsai’ is a Japanese translation for “planted in a container”. It is an art form enjoyed by people from all around the world. At it’s heart, bonsai growing is about patience, observation, and creativity.
It can take years, even decades, to achieve the desired shape, and each tree has its own unique growth pattern, meaning no two bonsai trees are ever truly alike.
Choosing a Tree
When deciding where to start in your bonsai journey, you may want to consider what the end goal is. Shape and location primarily.
When choosing a plant for the location you want your bonsai on display, consider the amount of light exposure and environmental factors such as wind and frost – choose a plant that will thrive in the conditions.
Bonsai plants are not suitable for growing indoors as they are naturally outdoor trees that will not thrive in an inside environment. Outdoor environments provide the appropriate conditions that indoor environments can not match.
- Good light
- Humidity levels
- Air circulation
- Winter dormancy
Indoor environments generally have much lower light levels, plus due to modern heating and air conditioning, air will generally be dry (low in humidity) and too hot to allow natural winter dormancy – essential for long term health of the tree.
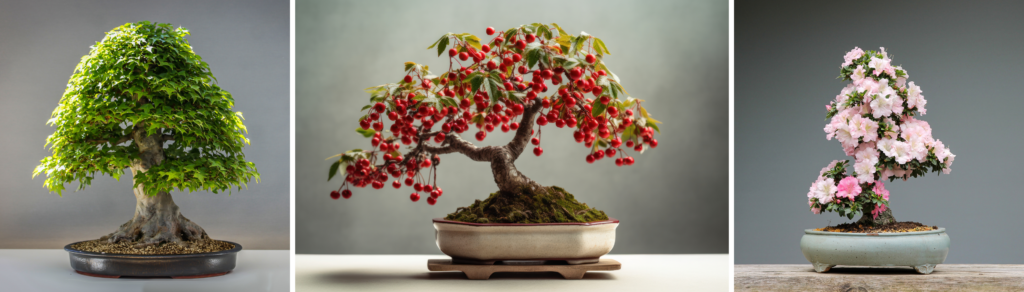
Bonsai trees grow as they normally would as a full-sized tree but forced through pruning, wiring and repotting to be dwarf. This means any flowers or fruits, etc. will form full-sized, but on a miniature tree specimen. Any plant with a small leaf works well as it gives the appearance of a miniature tree to scale.
Good starter trees include but are not limited to;
Juniper, pine nut, kowhai, maple, totara, pyracantha, pittosporum, azalea, and manuka.
The differences between the plants you choose will influence the end shape and style based on the natural growth pattern of the plant. For example different types of Juniper are good for cascading, formal to informal upright, slanting, and windswept forms. Compared against a Kowhai which has a more upright, slightly sprawling form with very flexible branches, ideal for shaping. They also produce full-sized flowers which makes for a lovely display.
Choosing a Pot
Consider your personal style and select a pot you enjoy. Many like to choose a colour and shape that complements the type of tree they’ve selected and the end shape of the tree can influence the type of pot you should use. Many standard bonsai pots are flat, but they don’t have to be. For example, a tree that is slanted or cascading may need a tall base pot for stability.
Some people get creative and use hollowed out tree trunks or rocks to mount their bonsai plants onto. Note: this may prove challenging for access to roots for maintenance and trimming.
The most important thing is to ensure your pot has drainage holes.

Starter Equipment
After you’ve selected your plant and pot, you’ll also need the following;
- Good quality potting soil like ‘Ican Premium Potting Mix’
- Pumice (optional addition to assist drainage).
- Fine mesh or shade cloth to line drainage holes.
- Aluminium wire & wire cutters.
- Clean, sharp secateurs and clippers.
- Chopstick-like object to push soil through the pot.
- Seaweed Tonic & ‘Ican Fast Food’.
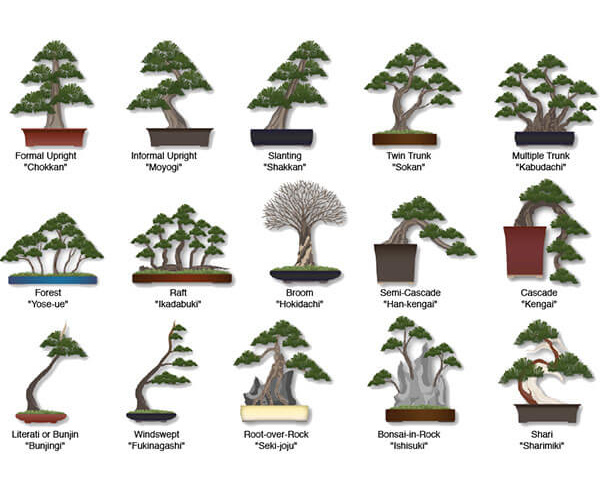
Deciding on a Shape
There is no wrong way to style a bonsai—there are dozens of ways to style your plant. Attached is a wide range of selections.
For greater success, especially when first starting out, try using the natural shape of the plant to influence the final design. Go with the flow.
Structural Pruning
(winter or early spring)
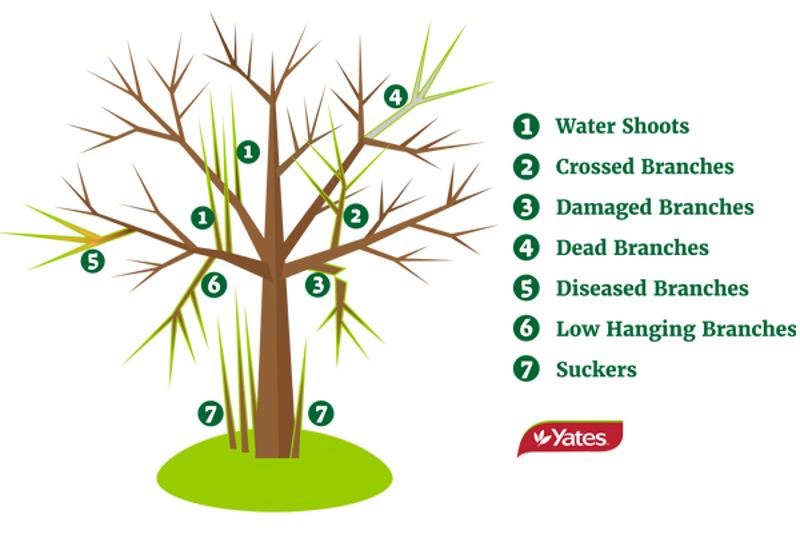
Structural pruning begins by removing everything that is unnecessary to your tree.
- Begin by cutting away broken, dead & diseased branches. (3, 4, 5)
- Water shoots (1) are fast-growing, almost perfectly vertical branches that are not structurally sound.
- Remove any sucker growth (7) from the base of the plant.
- Any branch that crosses over another and tangles should be pruned away to create an open, accessible tree structure. (2)
- Additionally, any branches too low, too thick, branches growing in the wrong direction, or bar branches (branches growing from the same location on your tree)
Once the structural pruning is complete, this will open up the tree and show the shape more clearly. Allowing you to decide your next steps.
Many styles start by trimming to a triangular shape, with longer branches at the base – shortening towards the top.
Wiring
(autumn to winter)
Wiring is an important step for bending branches and training them to grow in a desired direction.
Use a coated aluminium wire. Aim for a wire thickness 1/3rd of the branch thickness. The wire needs to be strong enough to hold it’s shape once bent.
Start training young growth because older, thicker branches may not bend.
Begin by wrapping the trunk before leading the wire towards a branch. This allows the wire to anchor and hold it’s shape when the branch is bent. Continue to wrap wire around the full length of the branch and connect two opposite branches of similar thickness with the one same piece of wire to anchor each other.
The direction in which you wrap a wire affects the direction you can bend it without loosening the wire. The wire wrap should be evenly spaced and twisted around at a 45° angle.
- A clockwise direction to bend branches down and towards you.
- An anti-clockwise direction to bend branches up and away from you.
When bending your branches, be very gentle. You will be able to feel the tension of the branch in your hand as you bend it. Don’t force it to go in a direction that is unsuitable.
Check on your tree every week and make sure your wire isn’t too tight and restricting to the tree. Allowing the wire to dig into the tree will cause scars that may not heal. Loosen or remove as needed as it matures.
When removing a wound wire, it is best to cut the wire at regular intervals and remove it in small pieces. Unwinding the wire will likely damage the tree and undo your hard work.
Maintenance Pruning
Once you have the bones/structure of the tree established, you can consider the smaller details and work on the shape.
Much of the shaping happens in summer, but regular light trimming should be kept up throughout the growing season to maintain this shape.
You may choose to cut additional branches and tidy up to achieve the start of your chosen style.
Repotting & Root Trimming
(late winter – early spring)
Clean away some soil from the roots – enough to see the root system.
Cut away no more than 1/3 of the root ball. Focus on removing large, thick roots, allowing a network of the longer, slender roots to remain. These roots are responsible for up-taking moisture and nutrients from the soil.
Place a layer of fresh potting mix in the pot and form a small mound in the centre for the tree to sit on top of. Wire underneath and through the drainage holes of the pot, so that when the tree is planted, you can wrap the base and secure it.
Once the tree is placed, gently tuck soil in and then, using a small stick, push soil into the gaps.
Once repotting is complete, give a good, long soak until fully saturated with a Seaweed Tonic to overcome transplanting shock.
Maintenance
Bonsai care is not black and white. Care must reflect the needs of the particular tree you’ve chosen. Different types of trees naturally grow in different conditions and you need to cater towards this. A maple will not be the same as a pine tree. Eg. some trees need more shade than others, have different moisture and watering requirements, etc.
Bonsai trees need to be kept outside to thrive as this is their natural environment.
Watering
Get to know the weight of the tree when wet vs dry – this helps you to understand when your soil needs watering. Because the soil level is so shallow, it usually dried out quickly. During summer, daily watering may be necessary.
The addition of ‘Saturaid’ re-wetting granules at the start of each summer may be advantageous for certain plant types that have higher moisture needs.
Even if it’s raining, check the soil as it may not be wetting the soil completely.
Water gently with a shower head type attachment, as a hose may be too rough and dislodge the soil. Occasionally soak the whole pot in a bucket of water – especially when feeding.
Feeding
If it’s growing, it needs feeding. Feed an appropriate amount for the size of the pot—over feeding can be harmful. Also consider the plant you have and it’s individual nutritional needs.
Apply a small amount of slow-release fertiliser such as ‘Ican Slow Food’ for 24 month feeding.
During the growing season, liquid feed regularly. We recommend alternating between ‘Ican Fast Food’ and a seaweed tonic for the best health.